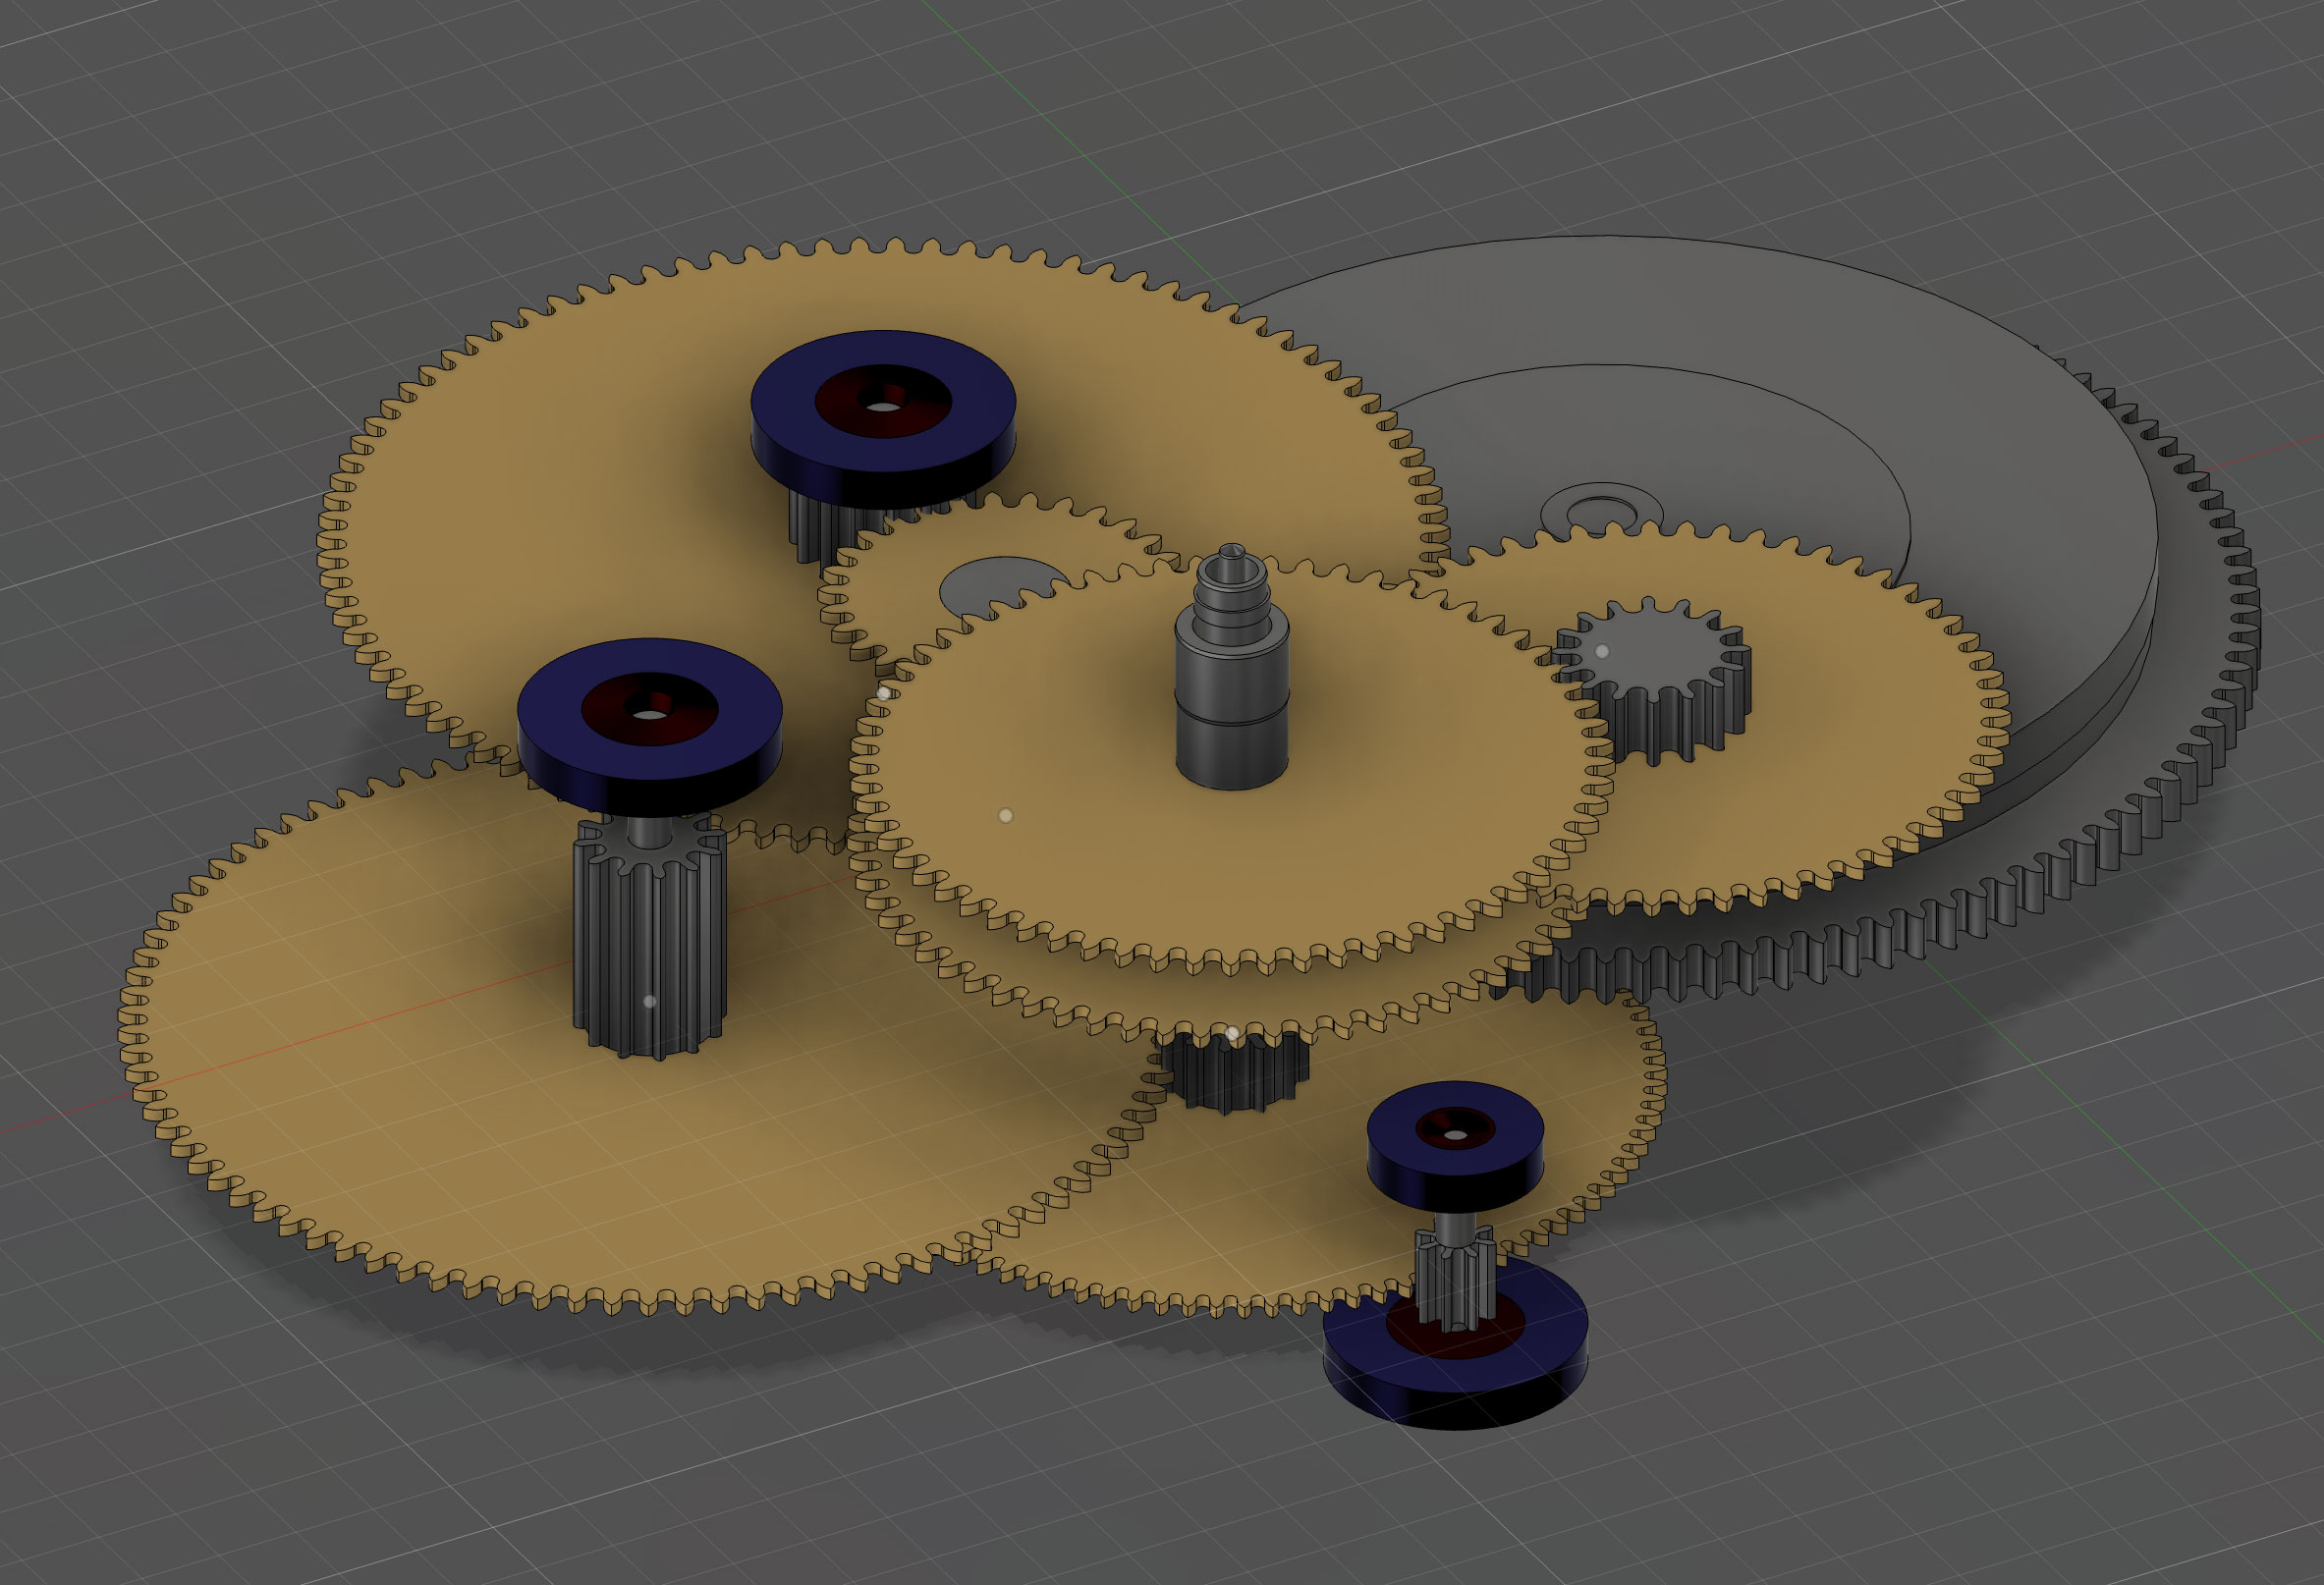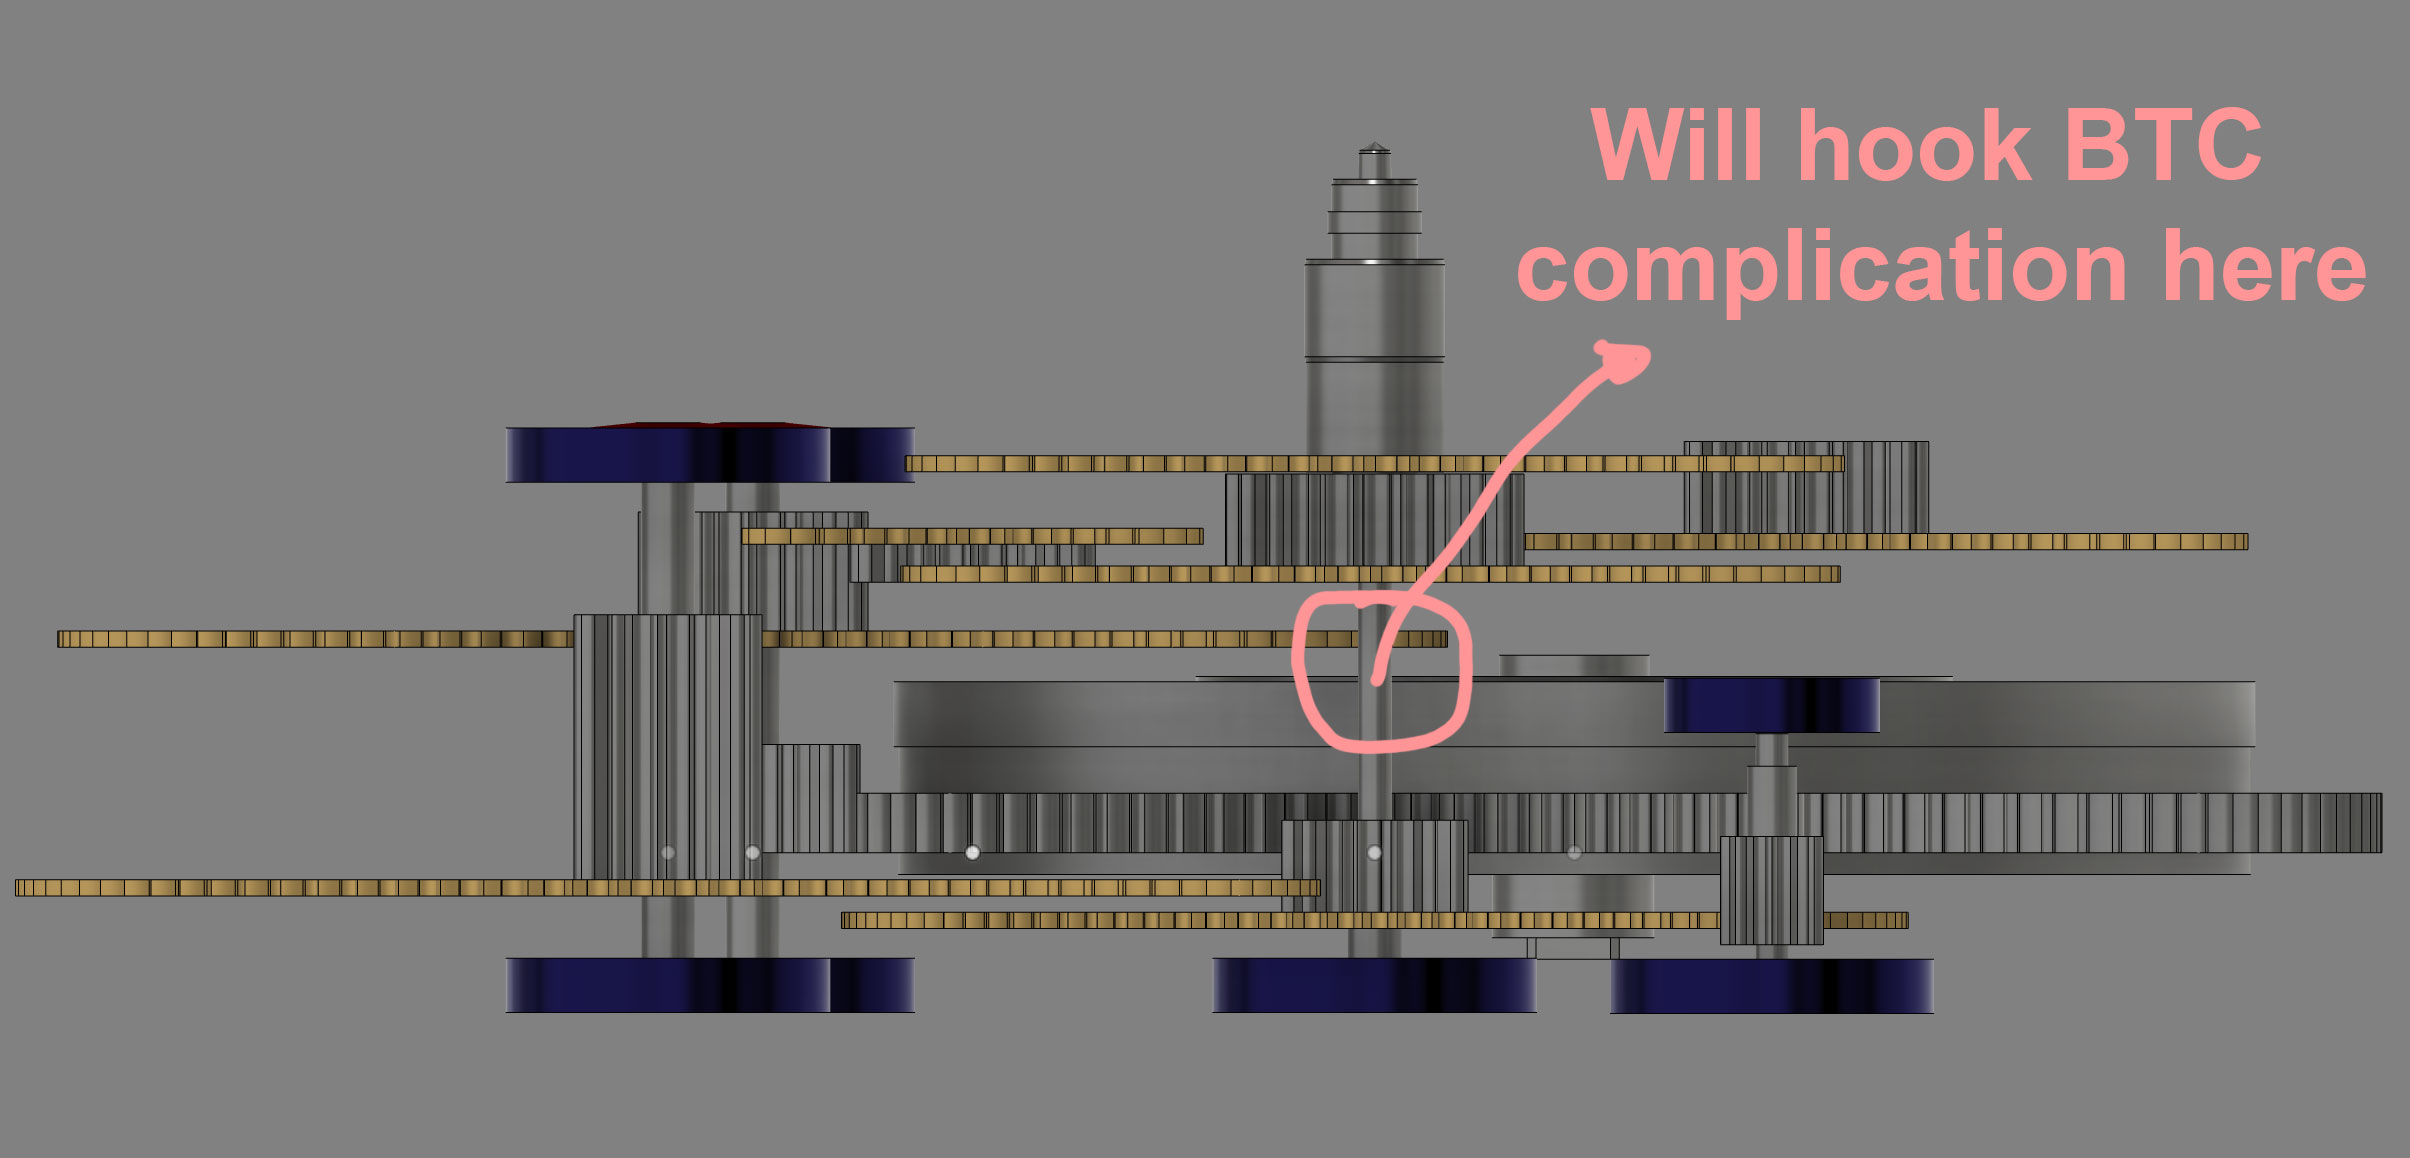
Quick Recap ⚙️
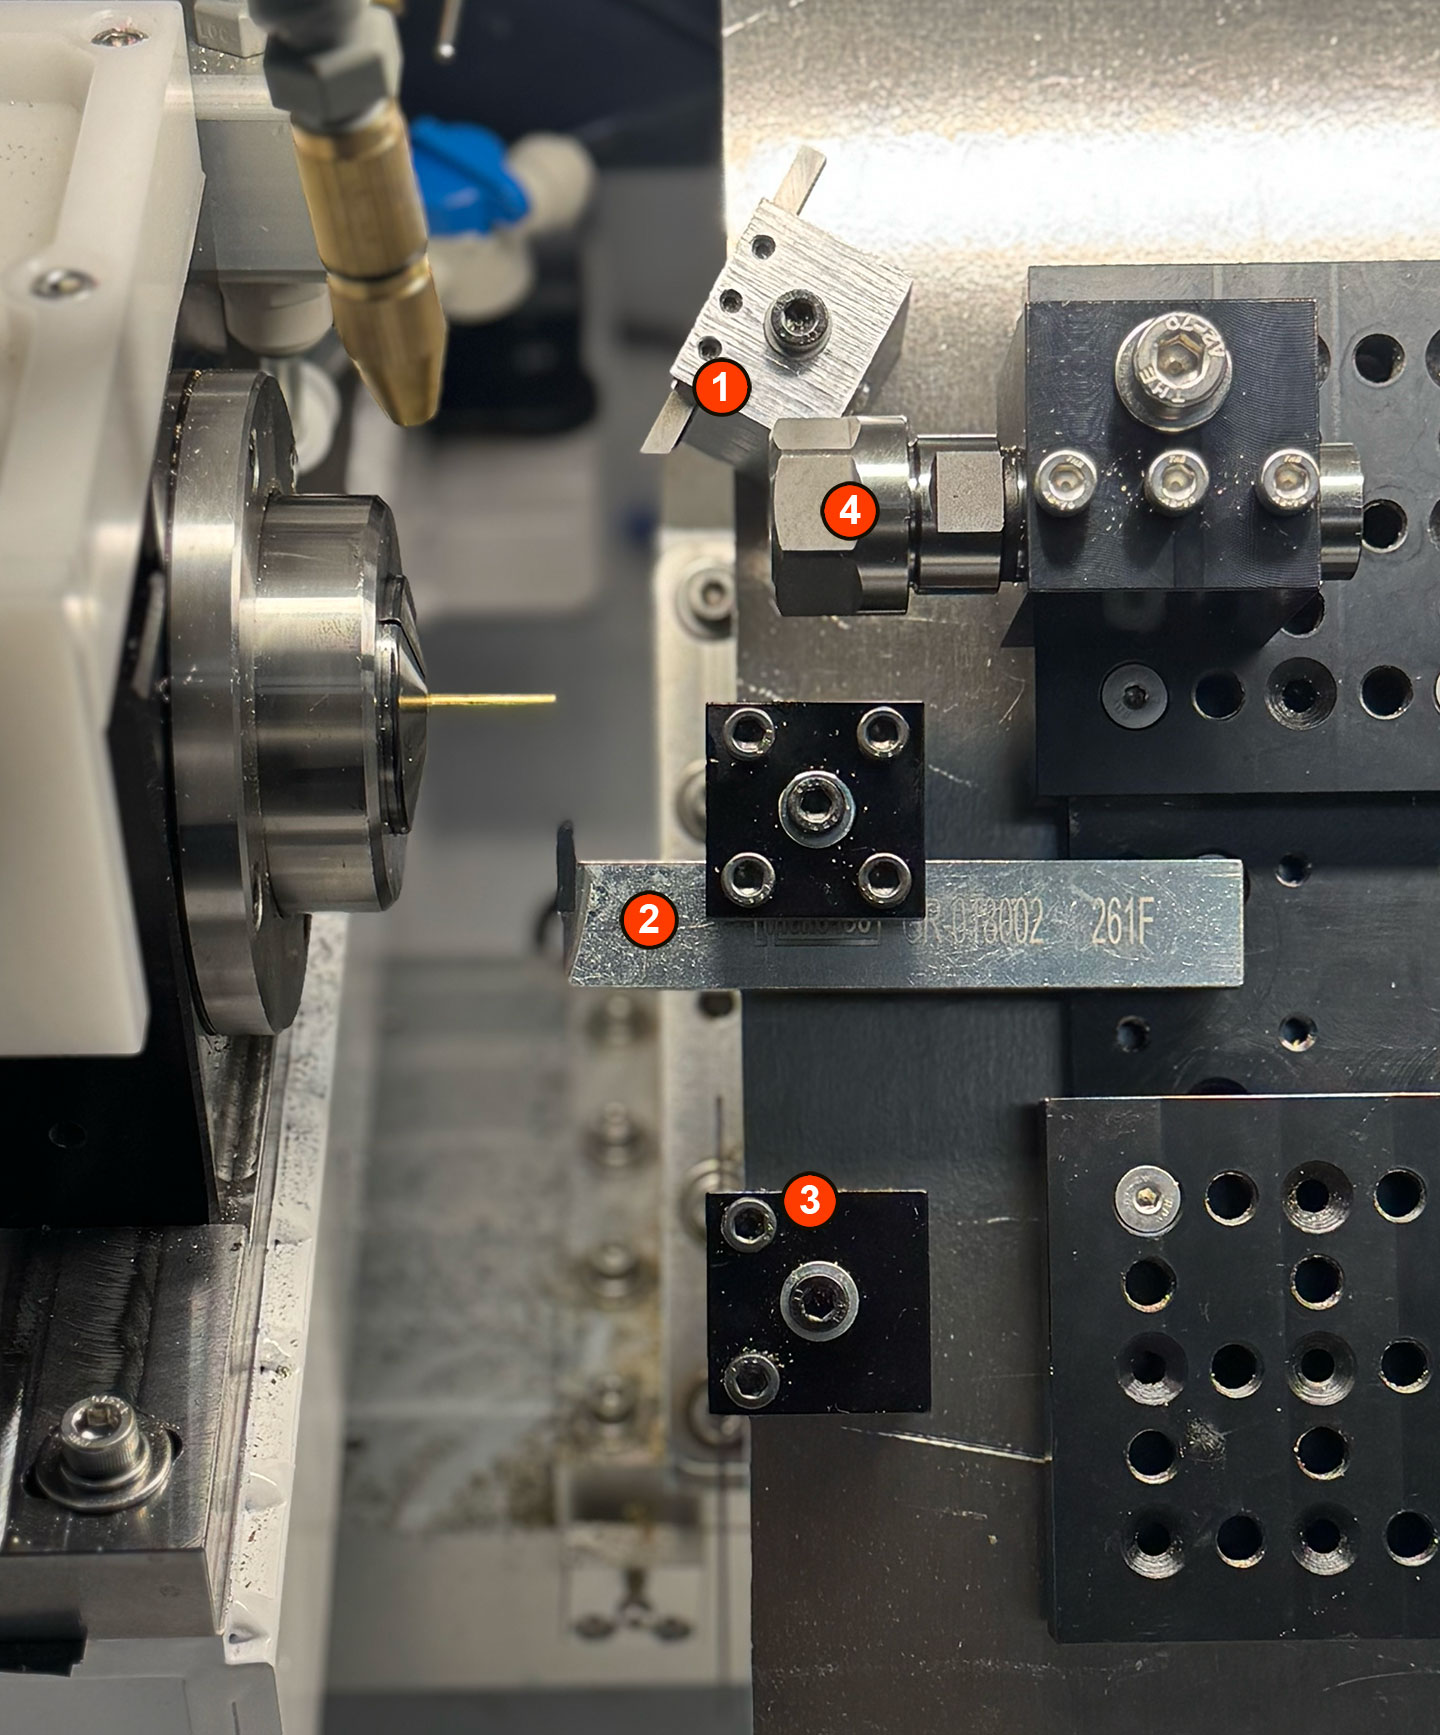
Hey there, fellow watch-tinkerers! I’m still deep in big-whiteboard territory—sketching every wheel, pivot, and bridge for my future movement while learning the nuances of a freshly built 4-axis CNC setup. No chips have flown—yet—but today I pinned down the machining playbook for two fully-sintered carbide micro-cutters. Each cutter will sculpt module 0.13 teeth on both the wheel and its mating pinion. Laying rock-solid foundations now should make first-cut day feel almost calm. 🙂
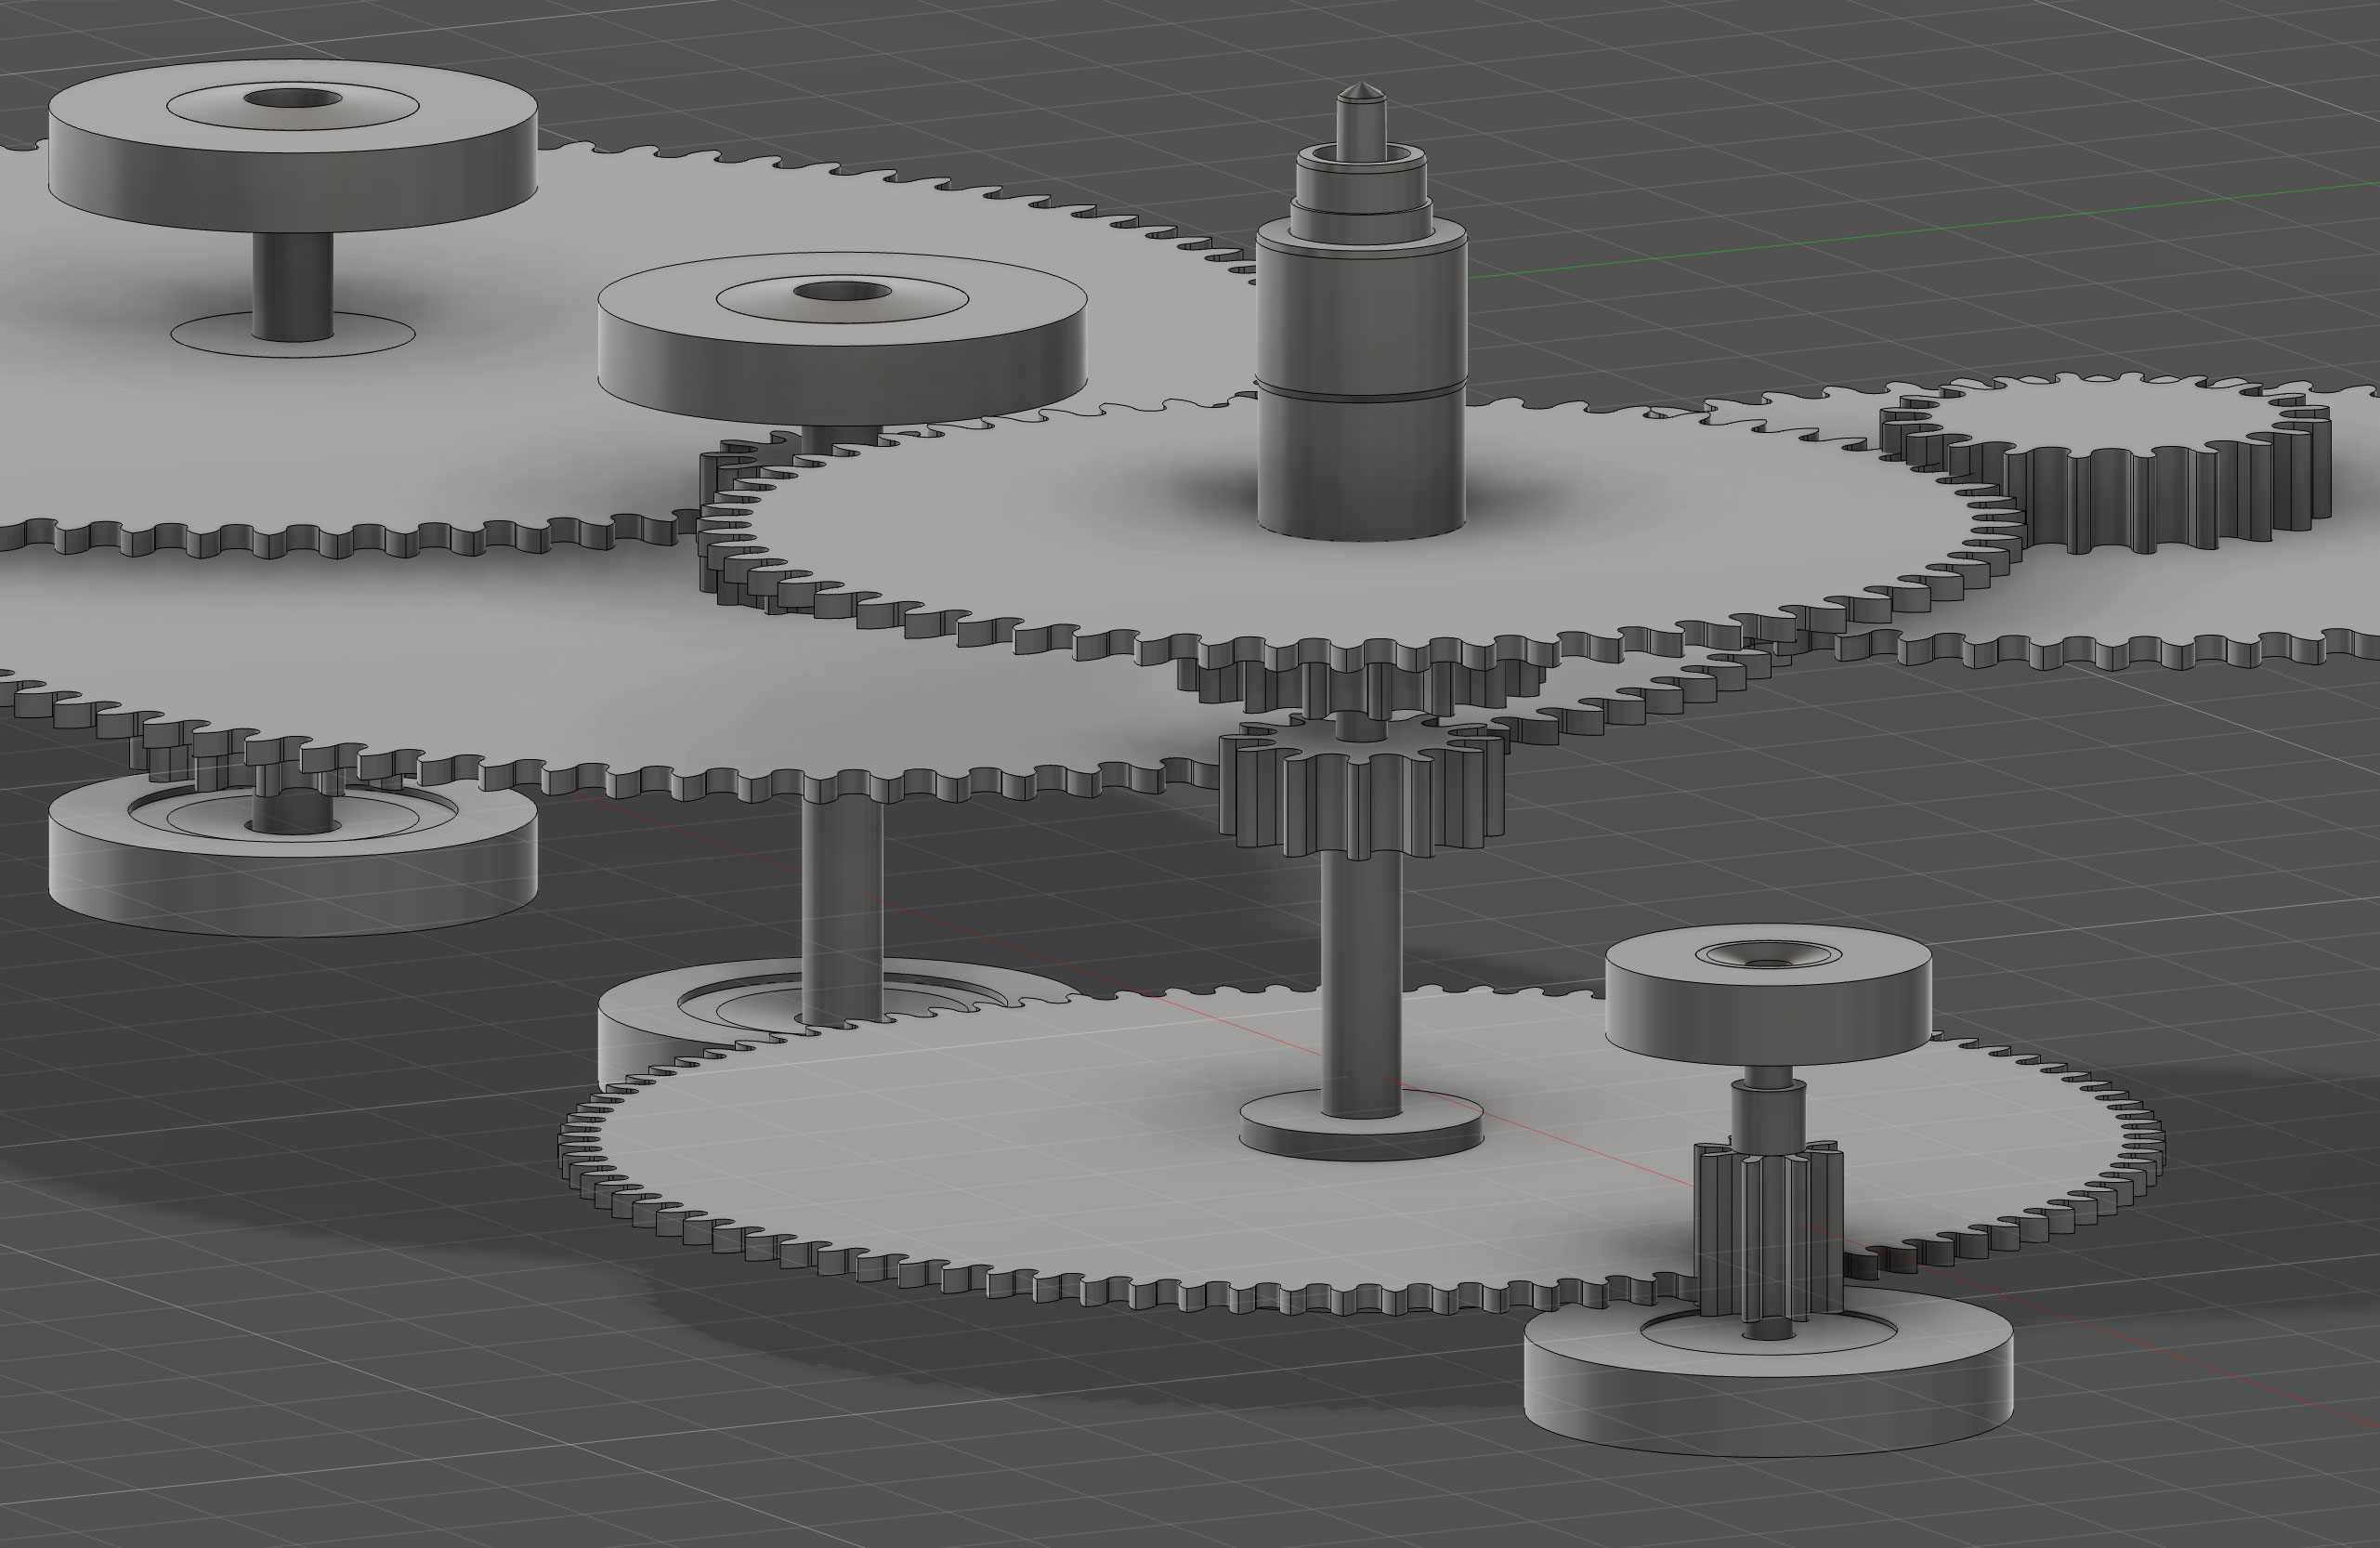
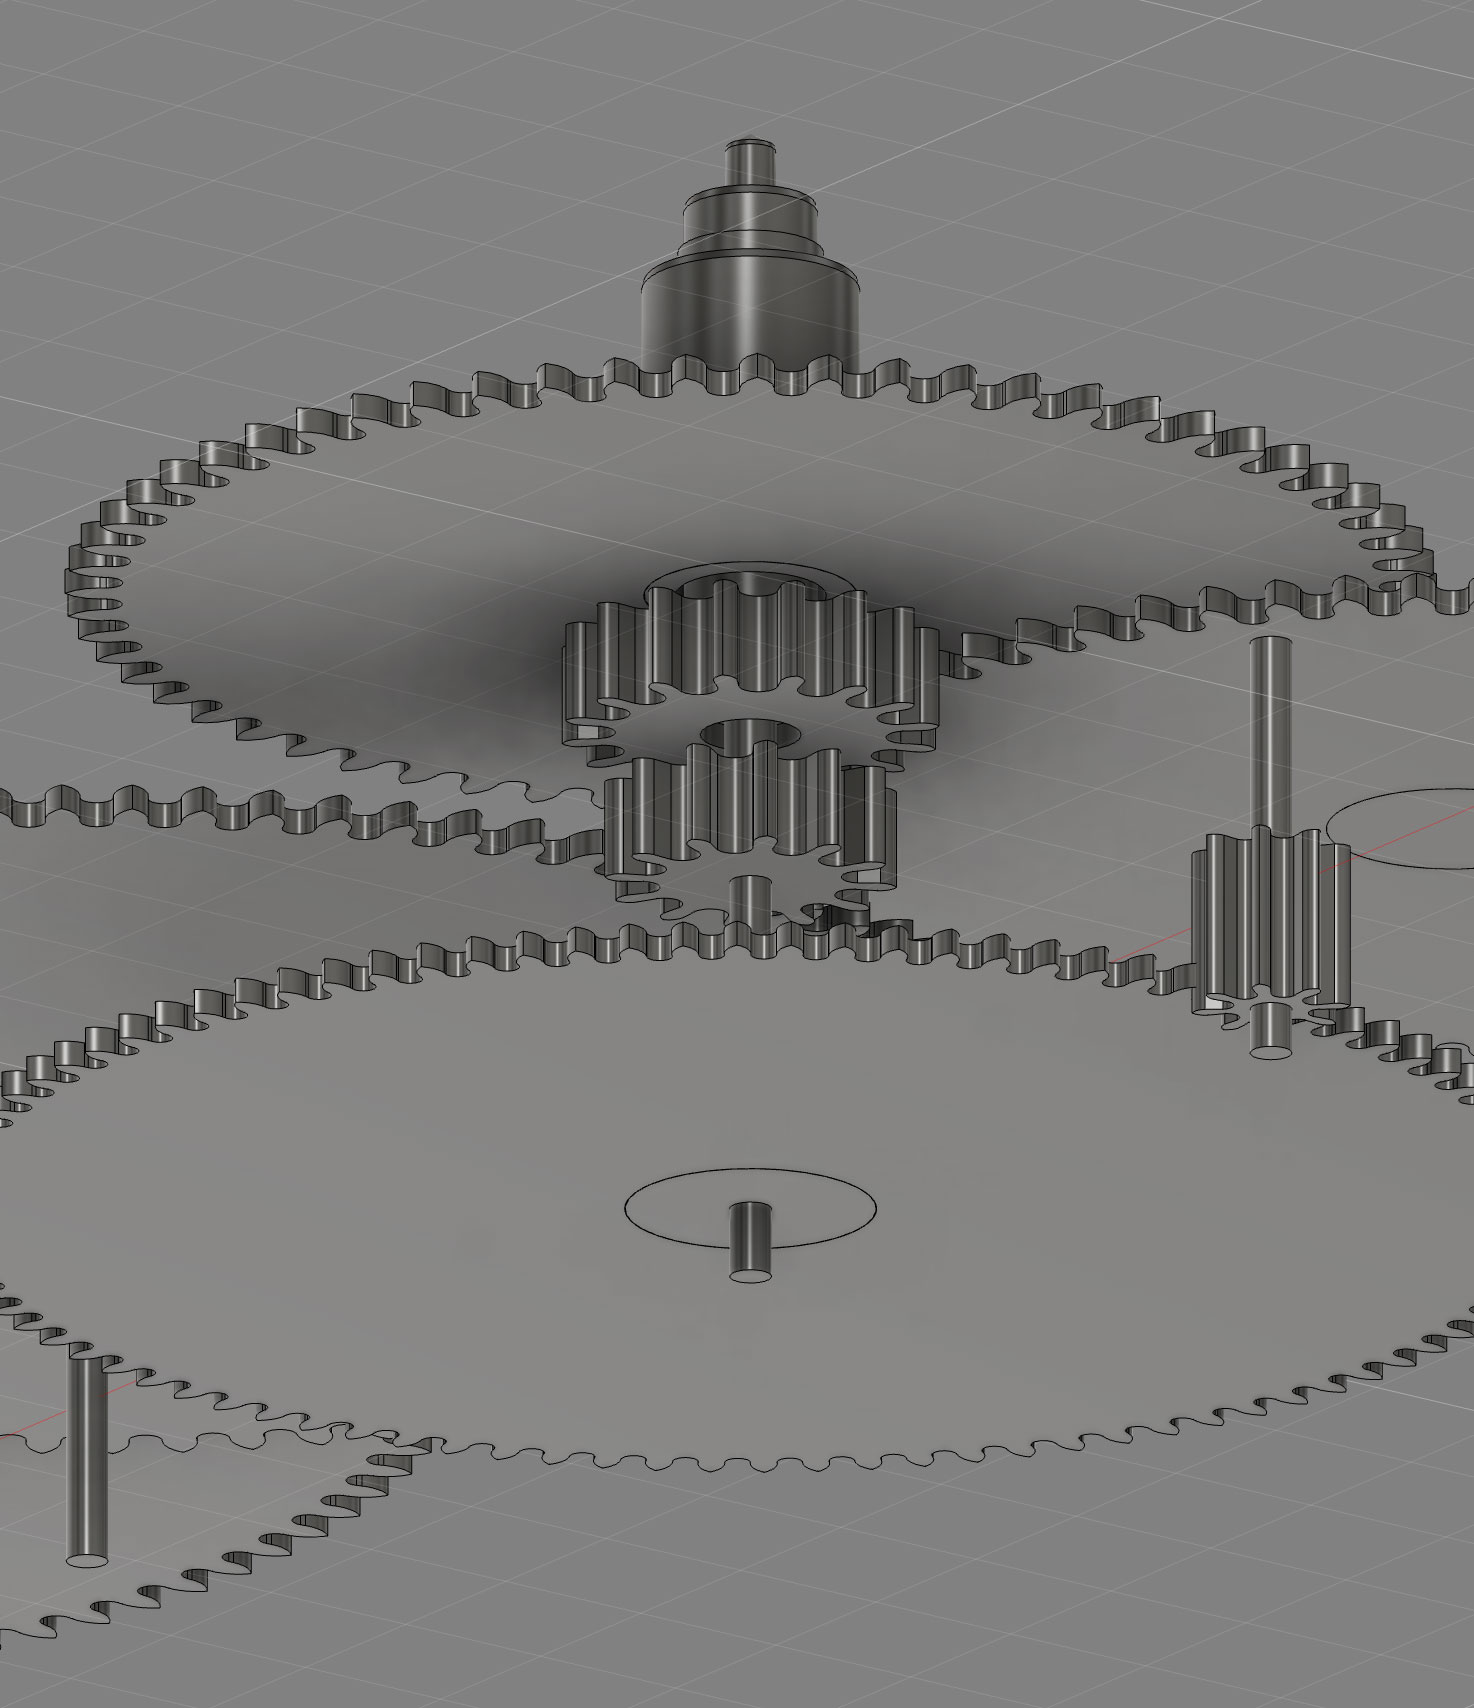
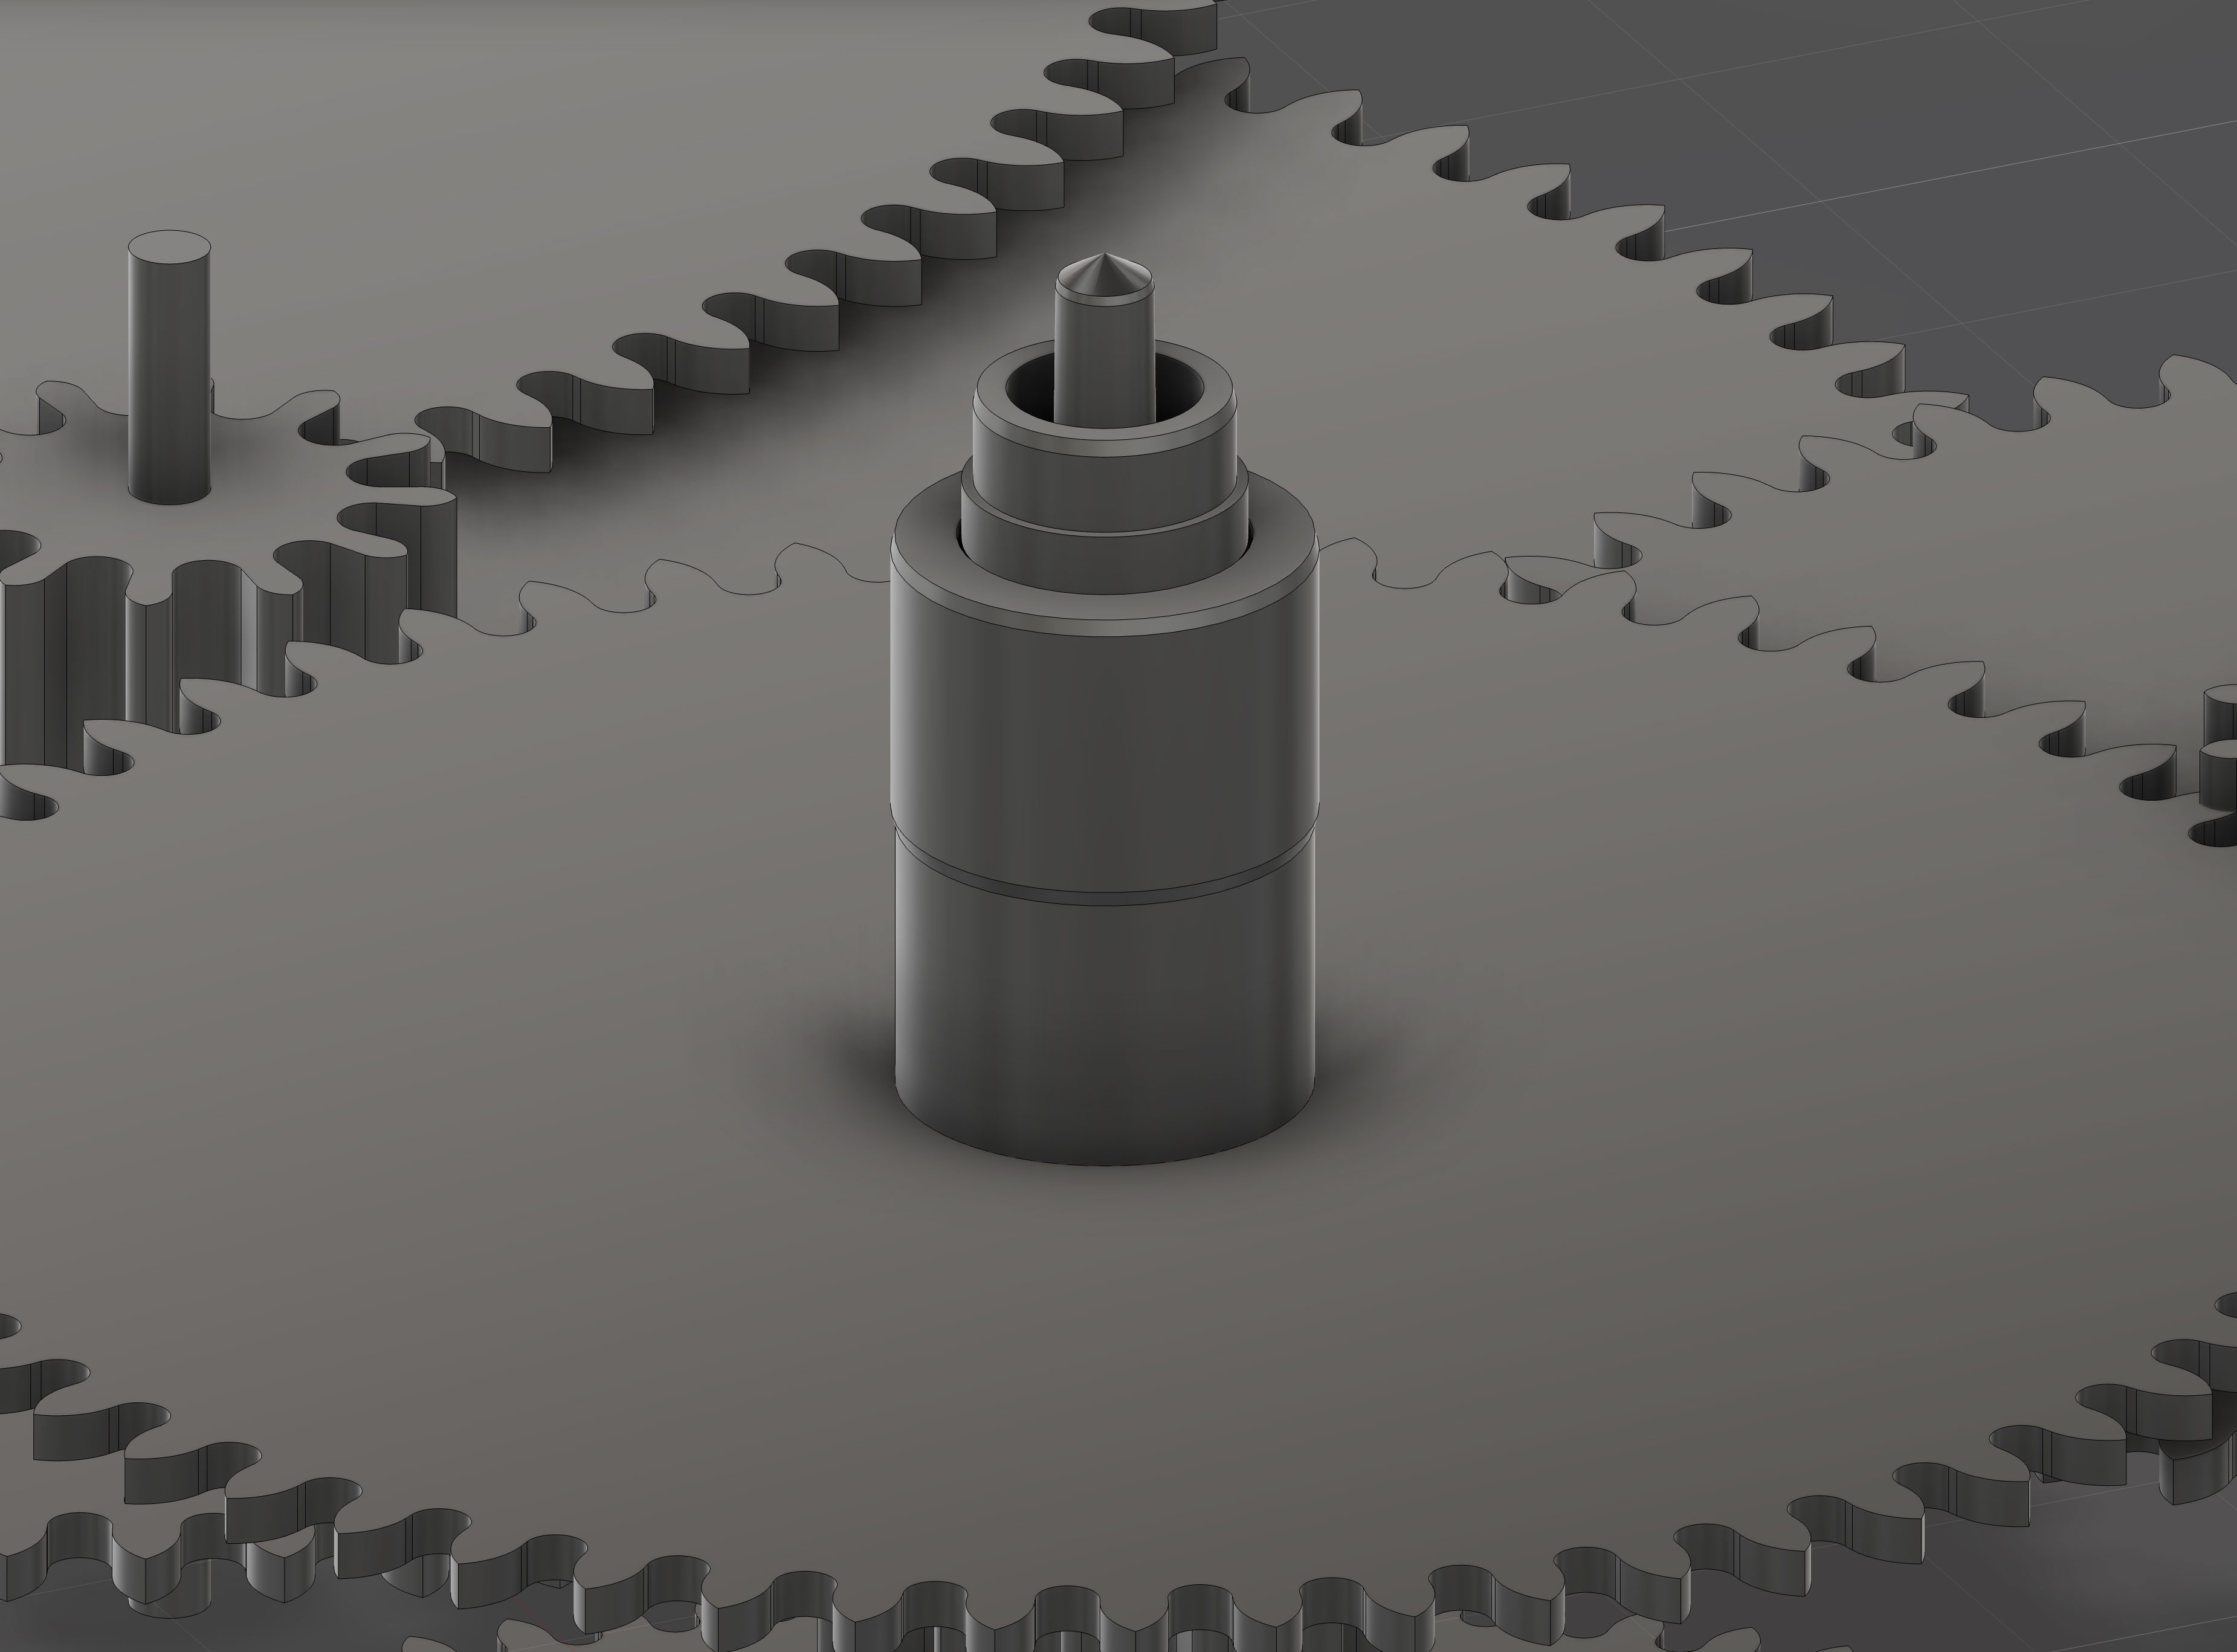
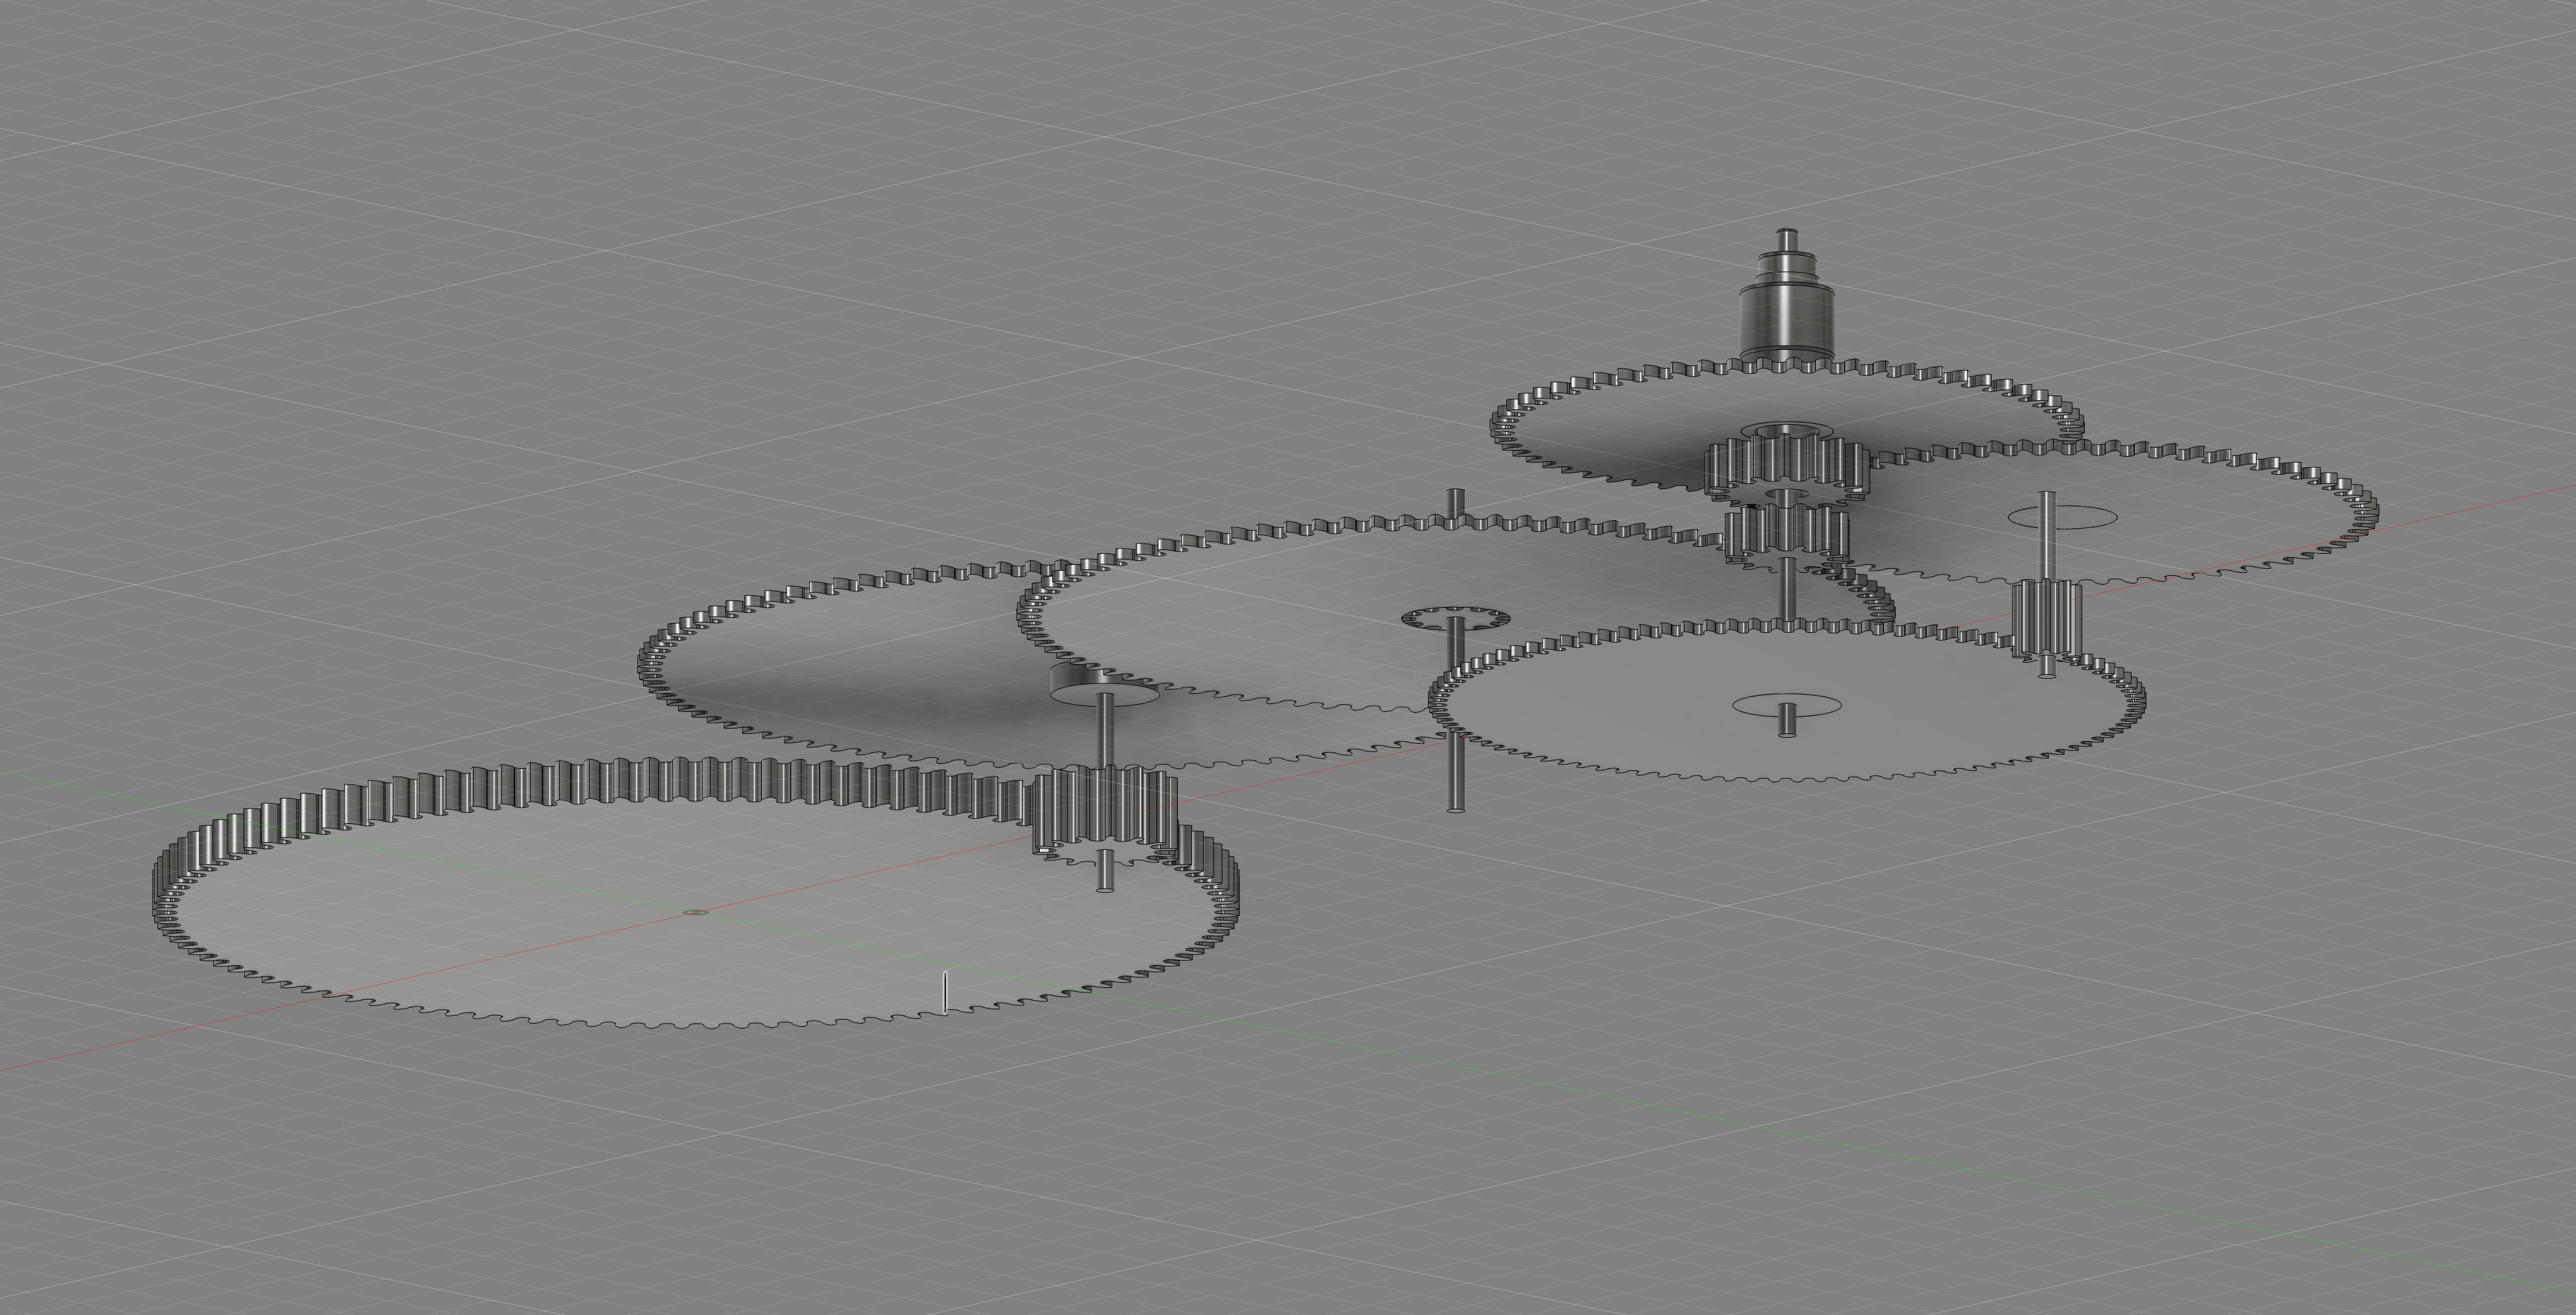
Explore the interactive toolpath playground →
Today’s Deep Dive: Simulating the 3-Stage Cutter Strategy
Both cutters share the same three-step journey; only the final edge profile changes—one hugs the broader wheel involute, the other traces the slimmer pinion flank:
-
Stage 1 – Coarse Roughing
Planned tool: ⅛″ (3.175 mm) CVD round-end mill from Harvey Tool
Workpiece: Ø 6 mm solid-carbide blank
Simulated spindle: 30 000 RPM | Radial DOC: 8 µm | Axial step-down: 60 µm
This first pass slims the 6 mm blank to about 2.2 mm in the cutting zone. Fusion 360’s adaptive roughing, paired with an 8 % synthetic-coolant mix, keeps simulated spindle load under 40 % and temperatures steady.
-
Stage 2 – Detail Roughing
Planned tool: 1 mm CVD square-end mill
Simulated spindle: 35 000 RPM | Radial DOC: 4 µm | Axial step-down: 40 µm
This pass shapes the shank relief and rough involute flanks to ±0.02 mm, leaving 30 µm for finishing. A mist-plus-air blast in the simulation prevents heat spikes while the A-axis keeps the blank rolling smoothly.
-
Stage 3 – Edge Finishing
Planned tool: the same 1 mm bit, side-milling with its flute edge
Simulated spindle: 38 000 RPM | Radial DOC: 1 µm | Axial step-up: 5 µm
Pure climb cuts deliver a predicted mirror finish of Ra ≤ 0.15 µm. Wheel and pinion curves are saved as separate “trace” paths, swapped in at post time.
Where Fusion 360 Fell Short—and the DIY Detour 🛠️
Fusion handled bulk removal nicely, but it simply wouldn’t allow multipass refinement when using multi-axis strategies like Swarf or Flow. Rather than compromise, I built a home-grown toolchain: TypeScript + THREE.js for 3-D visualization, plenty of trig to unwrap toolpaths, and ChatGPT to sanity-check the math. The script now exports blend-free G-code with helical lead-outs—something Fusion can’t (yet) do—so every line is under my control.
Target metrology: OD 2.000 ± 0.005 mm, tooth height 0.300 ± 0.003 mm—numbers I’ll verify in situ once the cutters arrive. Imagine neon toolpaths swirling like a galaxy instead of metal chips and you’ll have the idea. 🚀
Next Steps 🔧
- Receive & loupe-inspect the Harvey Tool CVD mills (20× check on every flute).
- Clock run-out to < 3 µm in the ER-20 collet system.
- Dry-run Stage 1 G-code above a foam dummy to confirm clearances.
- Tweak coolant-nozzle positions for uninterrupted chip evacuation.
Sign-off & Call-to-Action
Thanks for following along! If you’ve broken-in CVD tooling or have hard-won tips for ultra-fine gear cutting, I’d love to hear them—drop a reaction below or reach out on Nostr at @bitcoinwatchmaker. Your insights help turn these plans into perfectly cut teeth. 🙌